PhoenixMobile User Manual
◀ The Interior Wall ToolTable of ContentsSyncing ▶
Meetings
By setting up your meetings within Phoenix, you have the advantage of having file, location, and appointment information all in one place.
Meetings are added and deleted from the File screen; the Meetings tab on the home screen is used to view a summary of upcoming appointments.
Adding and deleting meetings
To add a meeting, tap Create Meeting from the file screen. Use the date control to select the date and time of your meeting figure 1. Finally, tap Done and the meeting will be added under the "Meetings" heading figure 2.
To change a meeting after you've created it, tap on it from the Order screen, modify the date or time as needed, then tap Done.
To delete a meeting, tap on it from the File screen, then tap Delete at the bottom figure 3.
The Meetings tab
The "Meetings" tab on the Phoenix home screen shows your up coming appointments figure 4. Select the date from the calendar control at the top of the appointment list; your appointments for that day will be displayed chronologically, with the earliest meeting first. Dates with a small dot on the calendar indicate days with scheduled appointments. Tap on an appointment to open that file.
By this point we've done a lot of work on our file. We've completed a form, added photos, and created a floorplan. Let's get all that information into our cloud storage so we can access it from our desktop software water. To do that, we'll need to perform a sync.
◀ The Interior Wall ToolTable of ContentsSyncing ▶
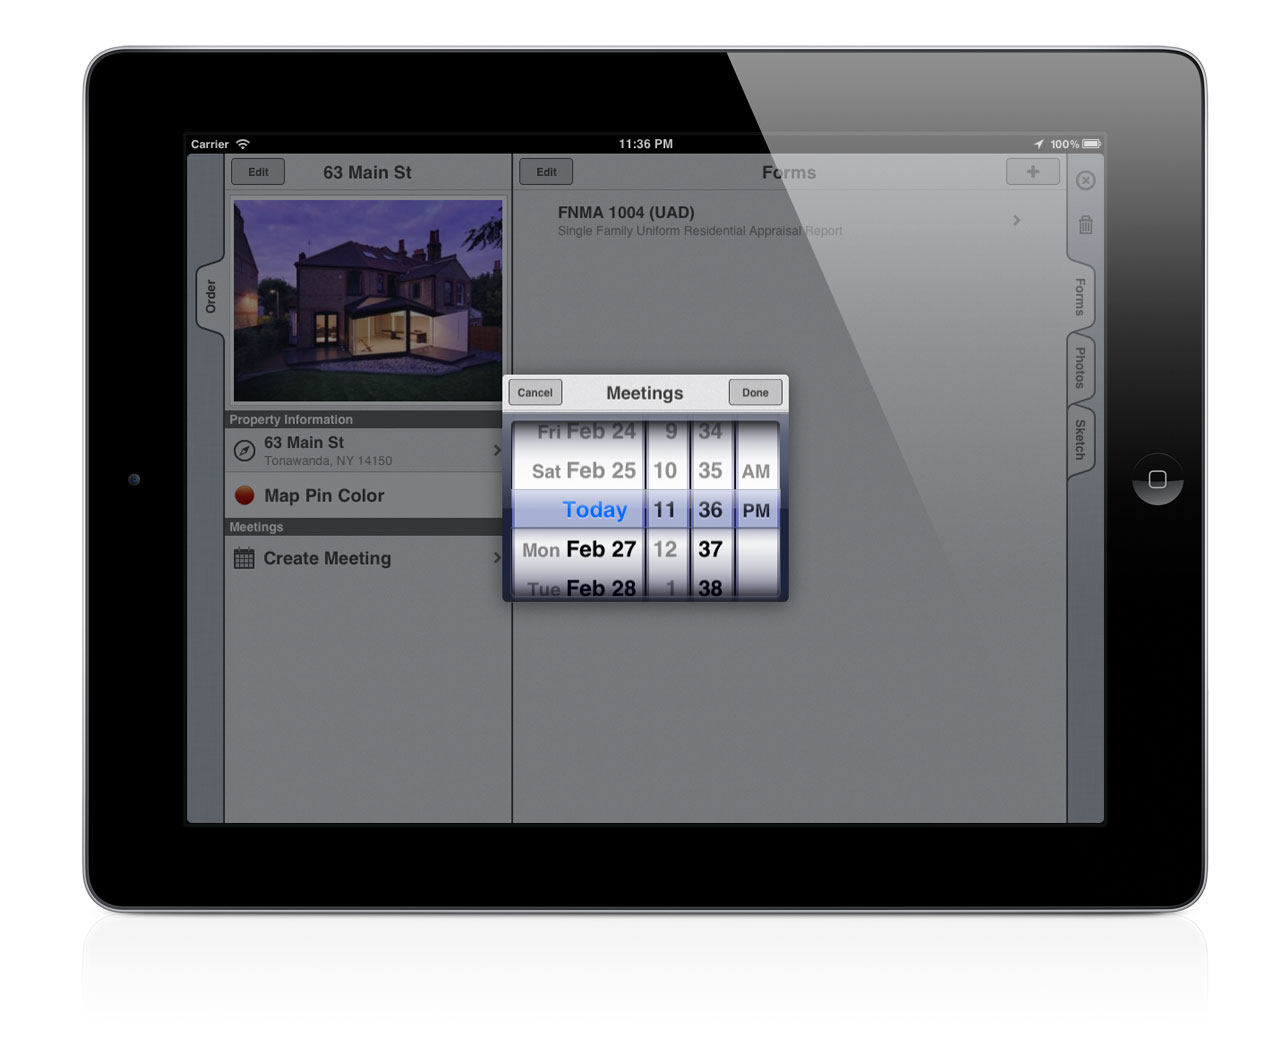 [1] Create a meeting
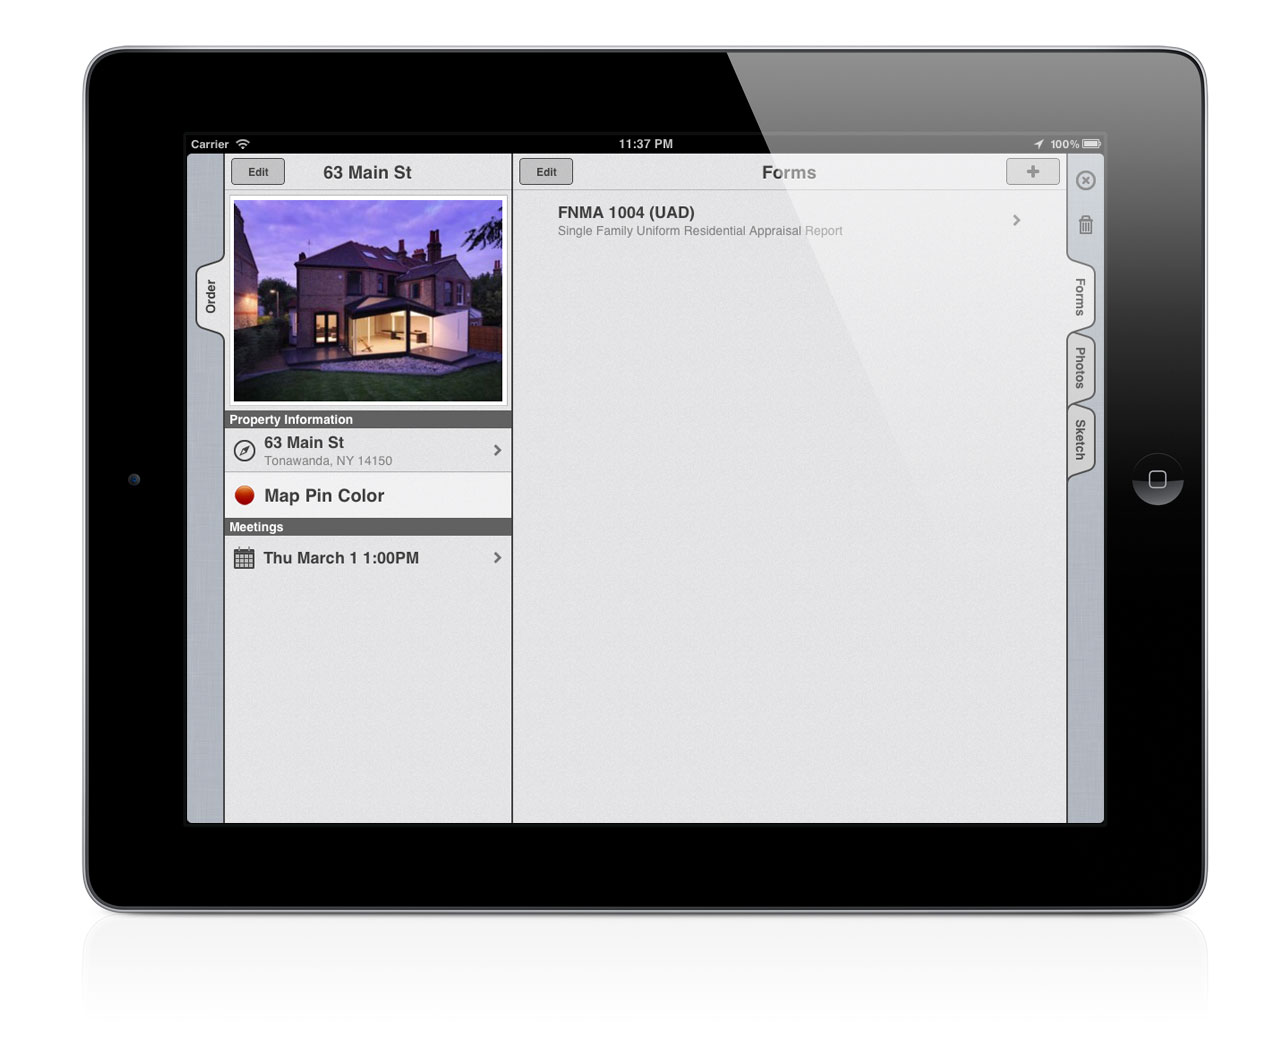 [2] Meeting scheduled
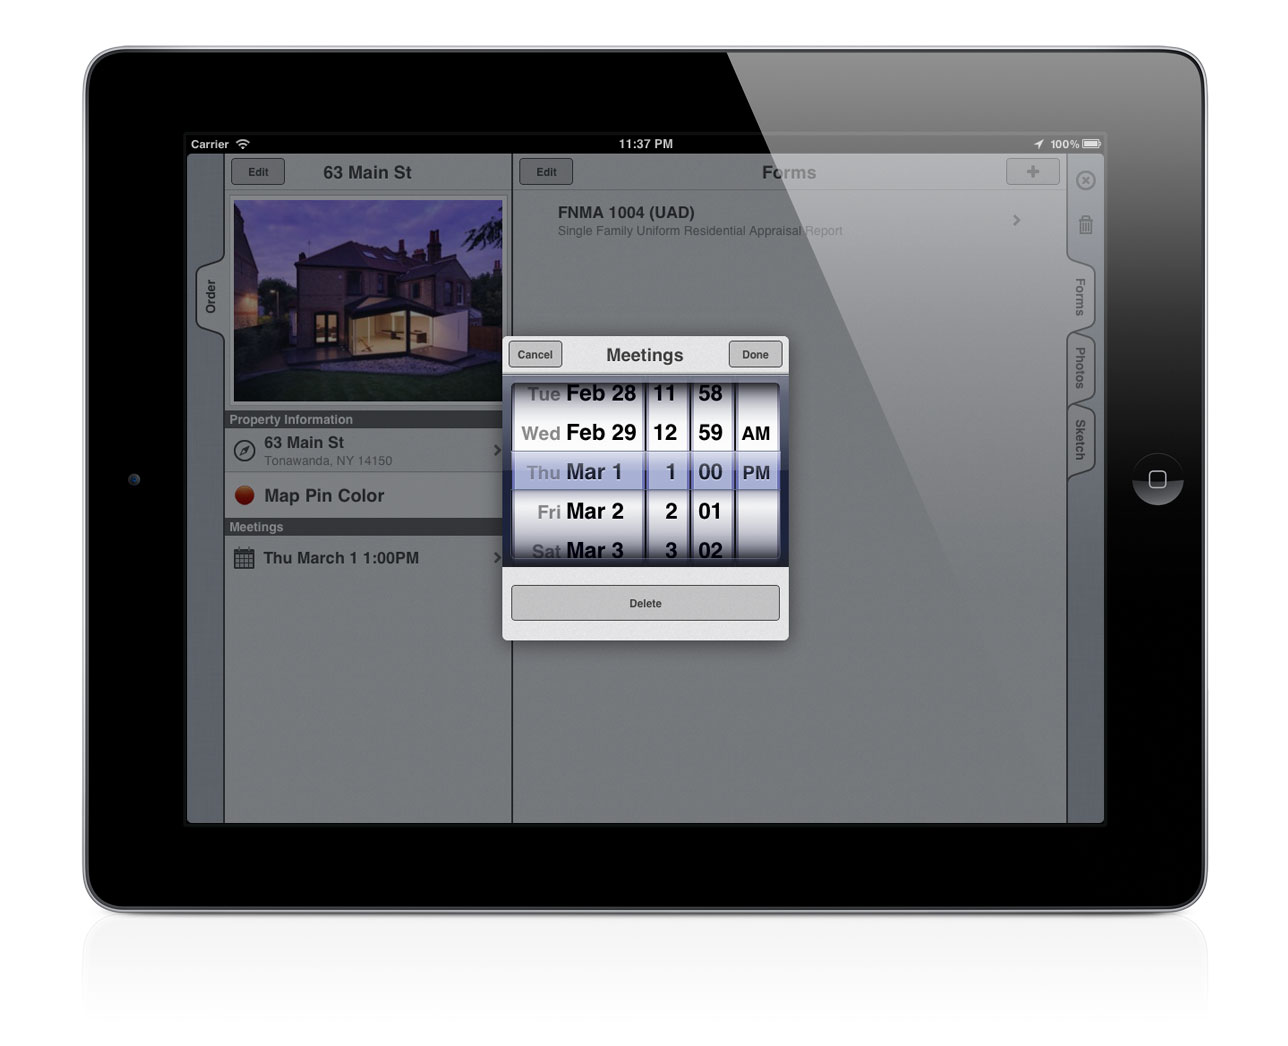 [3] Deleting a meeting
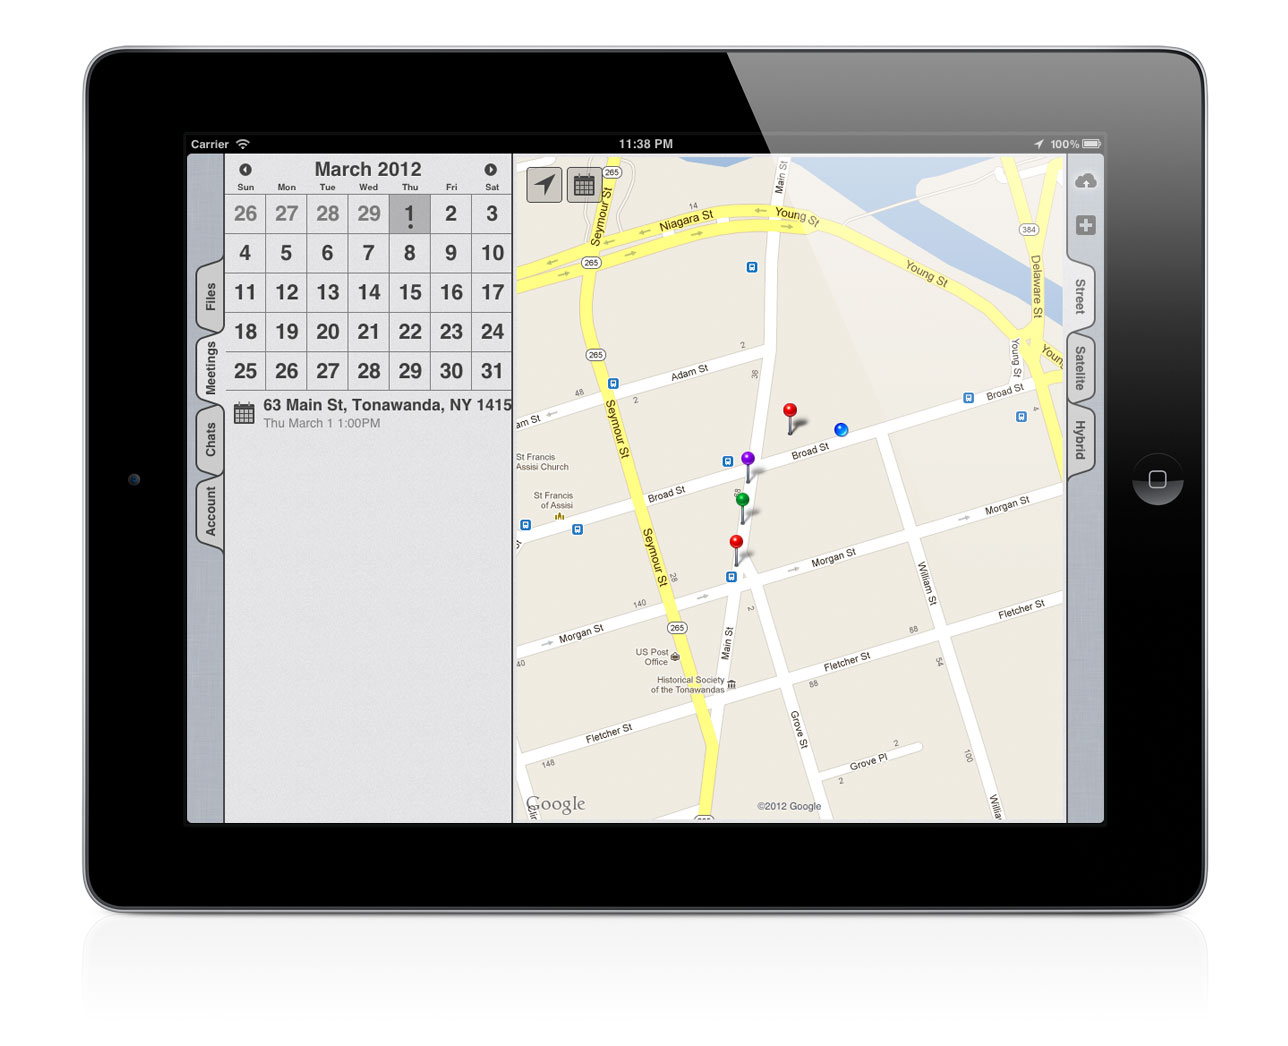 [4] Meetings Calendar