PhoenixMobile User Manual
◀ The Draw ToolTable of ContentsThe Stamp Tool ▶
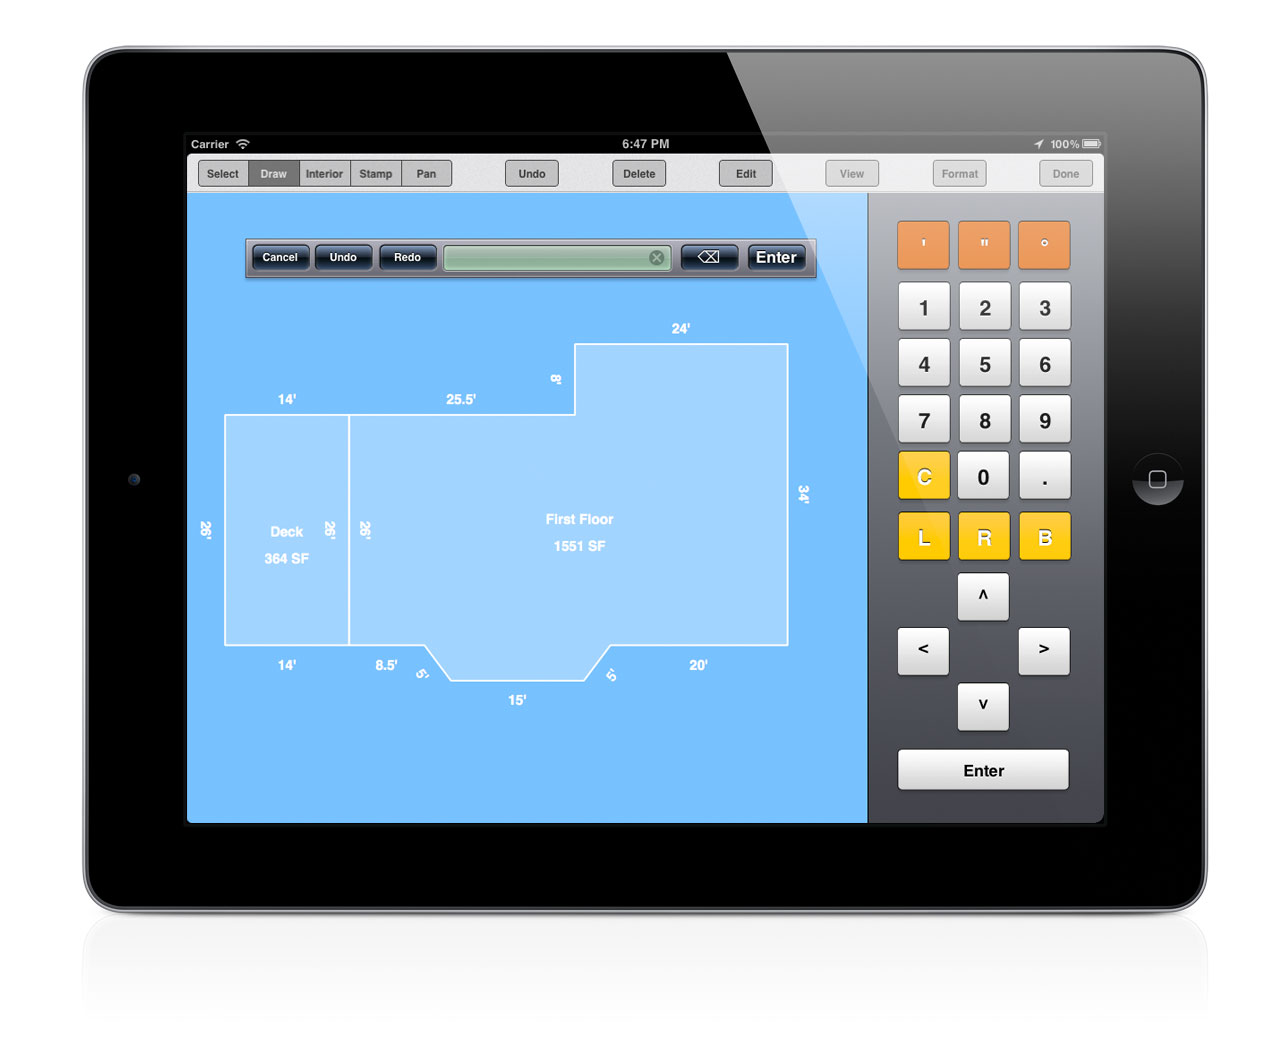
Select Tool
The Select Tool is used to manipulate and edit different parts of your floorplan. With the select tool, you can...
- Edit the length of an existing wall
- Flip an area
- Copy and paste completed areas
- Move or delete a completed area
- Move, delete, and resize labels
To begin using the Select Tool, tap Select Tool in the upper-left toolbar.
Moving areas and labels
To move an area or a label, simply tap and drag it with your finger.
If you want to restore all the labels for an area to their original position, tap the area to select it, then tap from the menu.
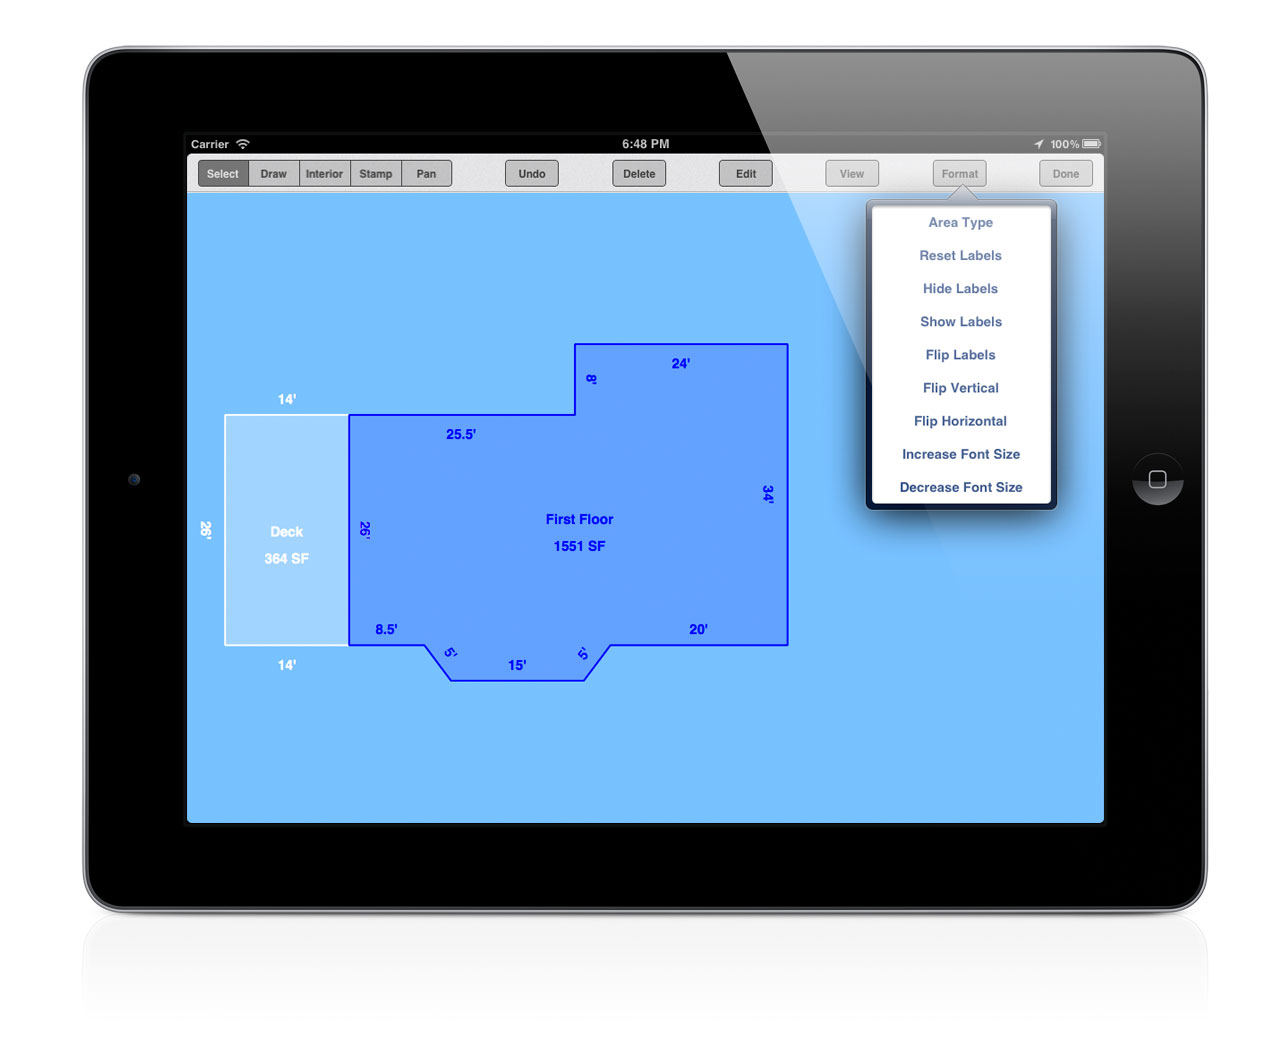
Re-sizing labels
You can enlarge and shrink both individual labels and all the labels for a completed area.
- Select the area or label to be changed
- Open the menu figure 1
- Click either or figure 2
Flipping dimension labels
Sometimes the dimensional labels on your walls might crowd your floorplan. One way to fix this is to move all the labels to the opposite side of the way (e.g. from inside the area to the outside).
- Tap the area to select it
- Open the menu
- Tap
After this, it's still a good idea to manually move around a few labels and delete duplicate labels. Just select a label and tap Delete
"Oh no! That's not what I meant to do!" Don't worry; just tap Undo. You can keep hitting Undo, if you want, to go back quite a few changes.
Deleting an existing wall
Suppose you made a mistake a few walls back. Using Undo to go back to that wall and re-sketch everything would be a pain. If you need to remove a wall and it was the last wall that you sketched, simply tap the Undo button to remove it.
You can also delete any wall by using the Select Tool. Simply tap on the wall to select it figure 4—walls are small, so if you miss it and accidentally select the entire area, just try again.
Once you have your wall selected, tap the Delete button from the toolbar figure 5.
Modifying existing walls
With Phoenix, you can modify the length of walls without having to back-step over all your work. This is done by selecting the wall and inputting a new length for it. Other walls will move as needed, but their length will not be altered.
To modify the length of a wall that is part of a completed area, you'll need to delete a wall to re-open the area. After you've made your change, simply re-sketch the deleted wall.
- Tap the wall that you wish to modify
- Ensure that the blue arrow over the wall is pointing in the direction you want it to shrink or grow figure 6
- Type the new length for the wall using the keypad
- Tap the Enter button
The blue arrow that appears over the wall shows which direction the wall will increase of decrease in size. To change this direction, just tap on the wall again.
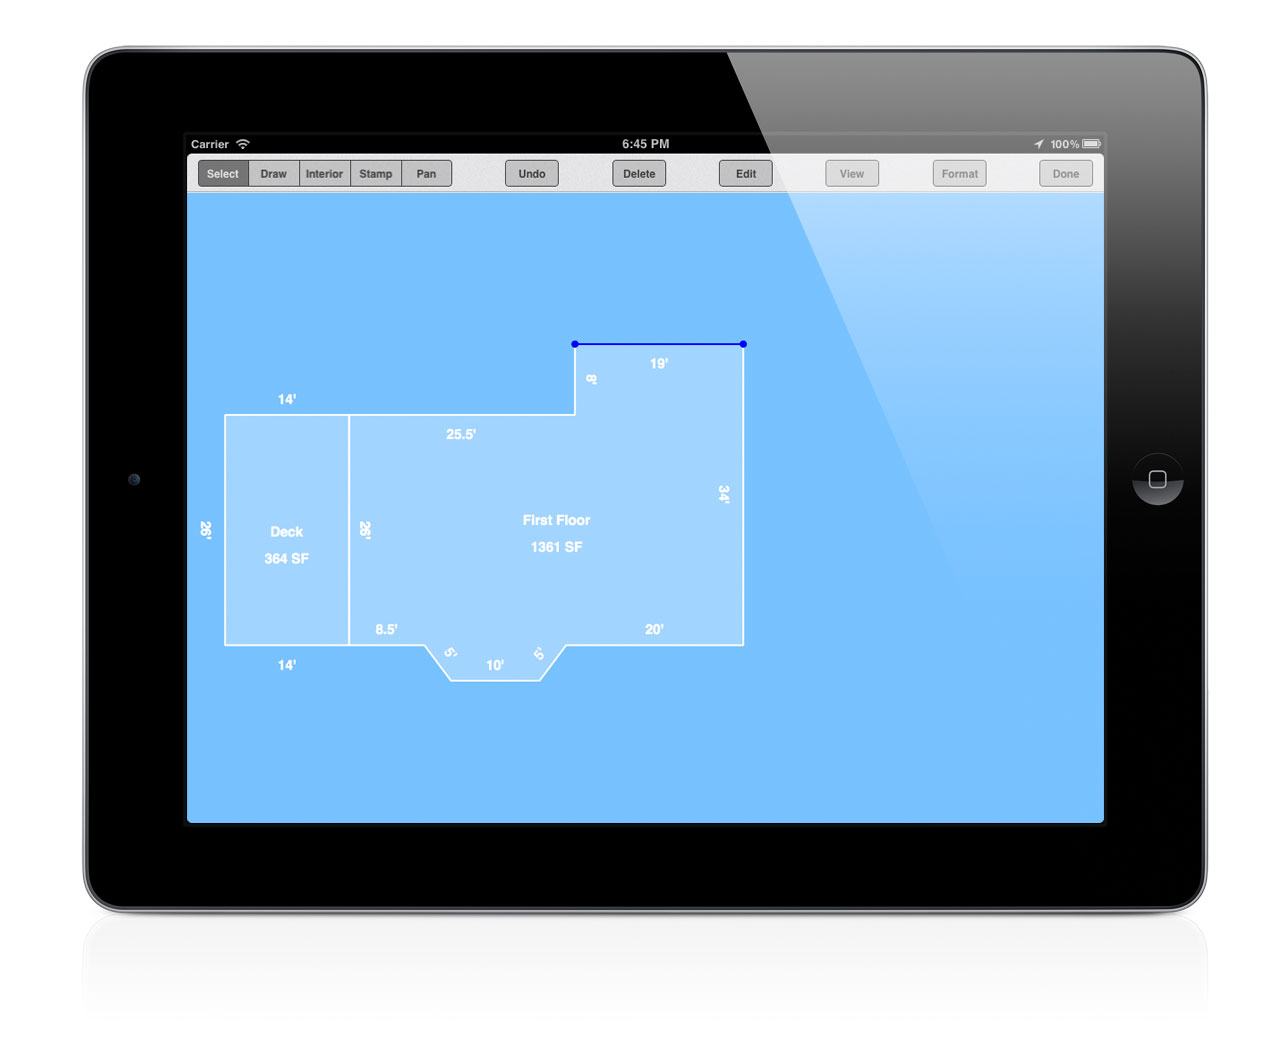
After you've finished modifying the wall, re-sketch any walls that were deleted to close the area again figure 7
Let's take a look at how we can add more descriptive stamp labels to our floorplan.
◀ The Draw ToolTable of ContentsThe Stamp Tool ▶
 [1] The Format menu
 [2] Re-sizing labels
 [3] Flipping labels
 [4] Selecting a wall
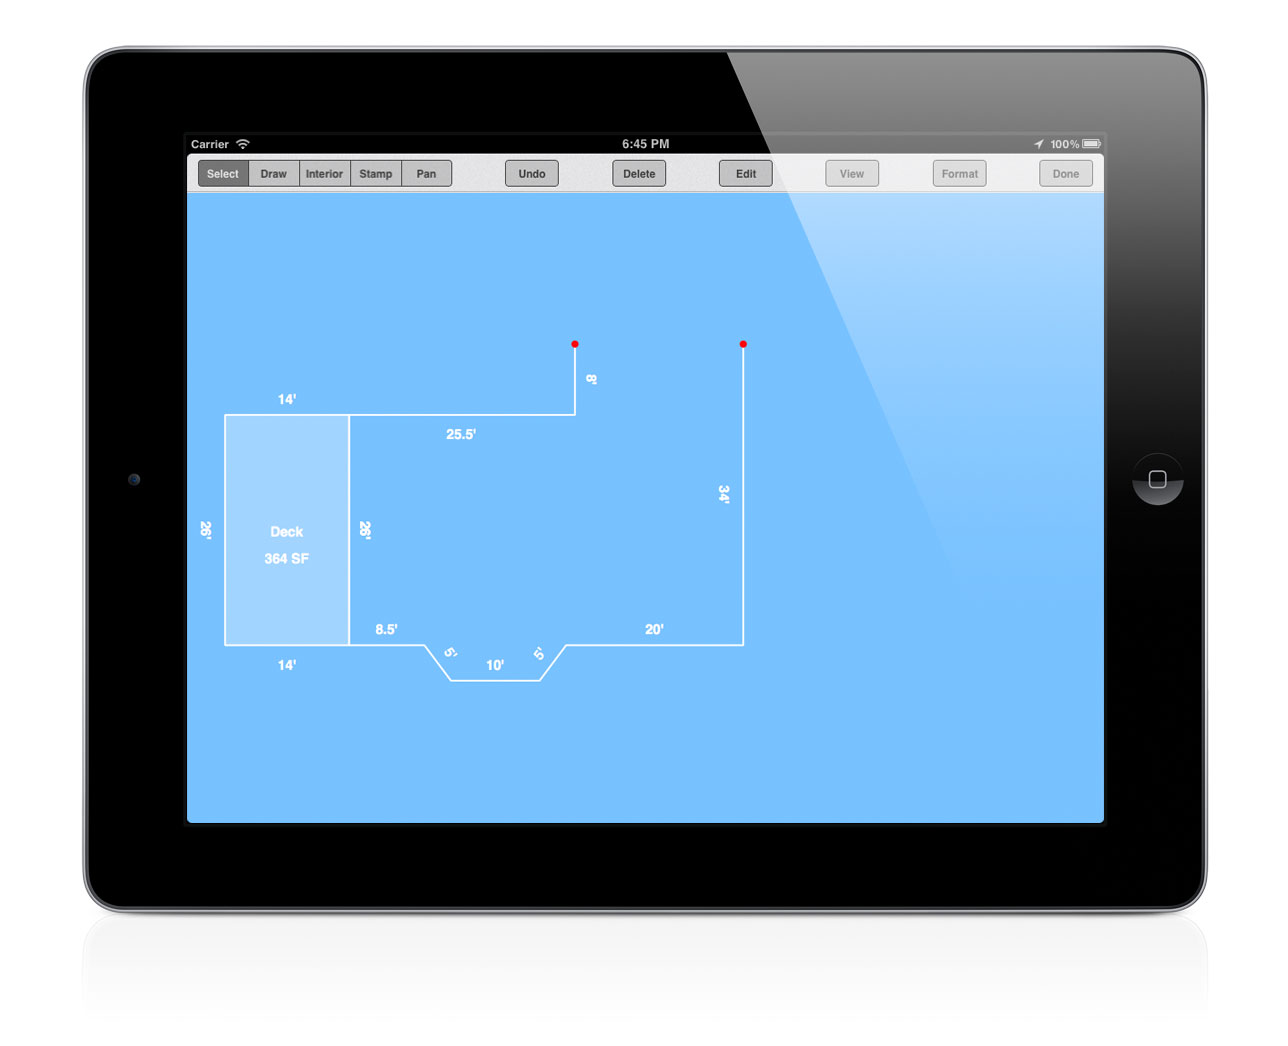 [5] Wall deleted
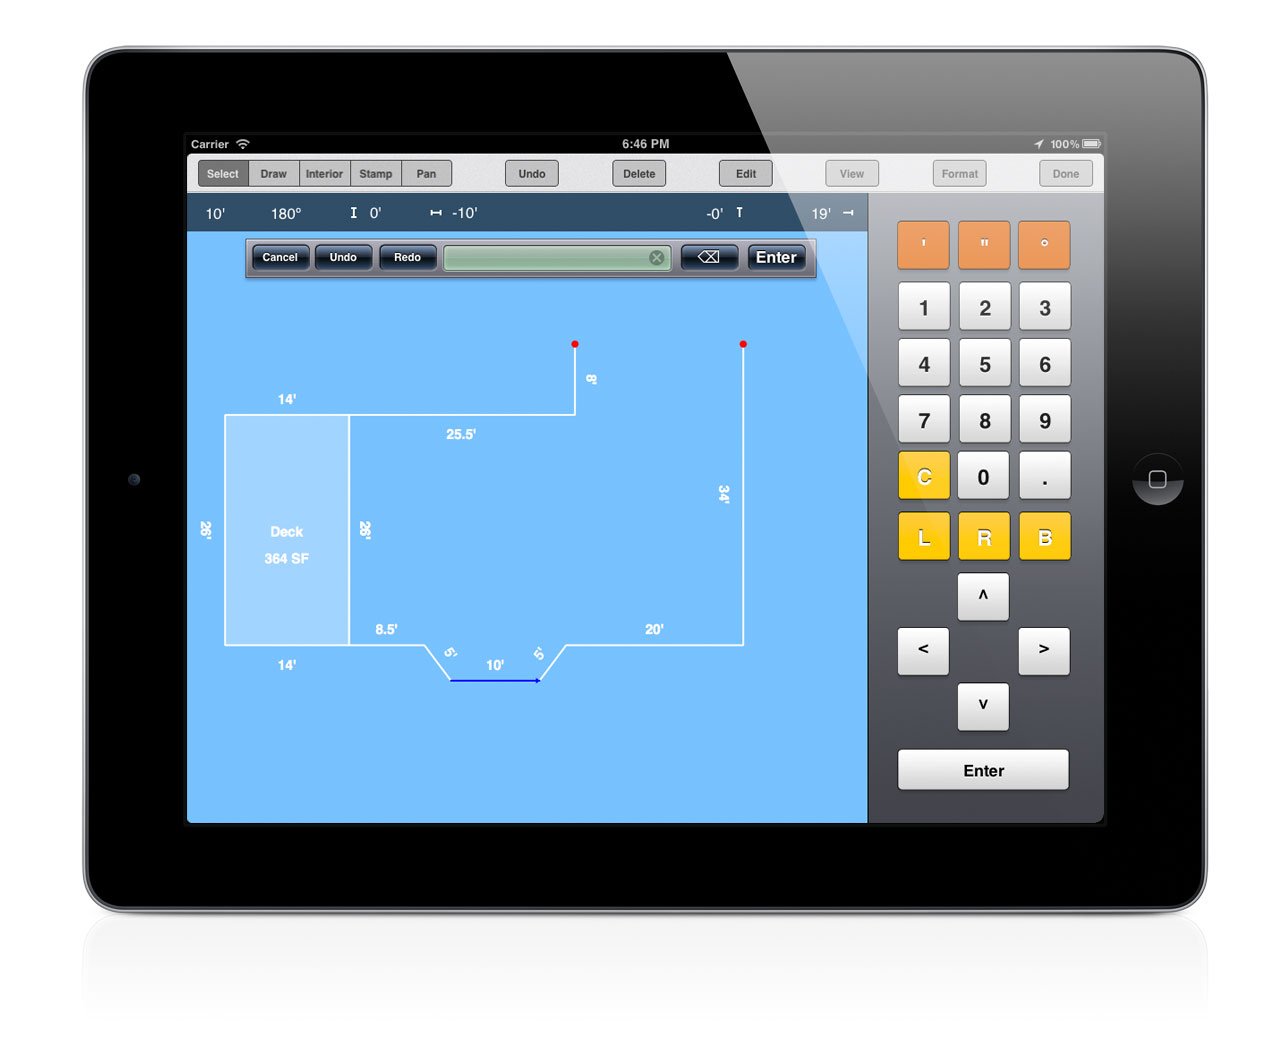 [6] Re-sizing a wall
 [7] Revision completed